
Home AC Installation Steps: Residential Air Conditioning Installation Basics
Updated: May 12
Installing a new air conditioning system in your home is a big decision. It affects your comfort, energy bills, and the value of your property. Knowing the basics of home AC installation helps you make smart choices. It also prepares you for what to expect during the process. I will walk you through the key steps and important details to keep in mind.
Understanding Home AC Installation Steps
The installation of a home air conditioner involves several clear steps. Each step is important to ensure your system works efficiently and lasts a long time. Here is a simple breakdown:
Assessment and Planning
Before installation, a professional inspects your home. They check the size, layout, and insulation. This helps determine the right size and type of AC unit. Proper sizing is crucial. A unit too small will not cool well. One too large wastes energy.
Choosing the Right System
You can pick from central air conditioners, ductless mini-splits, or window units. Central systems are common for whole-home cooling. Ductless systems work well for homes without ducts. Window units cool single rooms. Your choice depends on your home’s needs and budget.
Preparing the Site
The installation area must be ready. This includes clearing space for the outdoor condenser and indoor components. Electric wiring and ductwork may need updates. Proper preparation avoids delays and extra costs.
Installing the Indoor Unit
The indoor unit includes the evaporator coil and air handler. It connects to your home’s duct system or operates independently in ductless models. Technicians mount the unit securely and connect refrigerant lines.
Installing the Outdoor Unit
The outdoor condenser unit sits on a concrete pad or mounting brackets. It must have good airflow and be level. The unit connects to the indoor system with refrigerant lines and electrical wiring.
Connecting and Testing
After installation, the system is charged with refrigerant. Technicians check for leaks and test the system’s operation. They ensure the thermostat works and the airflow is balanced.
Final Inspection and Cleanup
The installer inspects the entire system. They clean the work area and explain how to use and maintain your new AC.

How Much Do Air Conditioners Cost to Install?
Cost is a major factor when planning home AC installation. Prices vary based on system type, size, and complexity of installation. Here are some typical ranges:
Central Air Conditioning Systems: $7,000 to $15,000
This includes the unit, ductwork modifications, and labor. Larger homes or complex duct systems increase costs.
Ductless Mini-Split Systems: $2,000 to $5,000 per zone
These are more flexible but can be pricier per room. Installation is less invasive since no ducts are needed.
Window Units: $150 to $600
These are the cheapest option but only cool single rooms. Installation is simple and often DIY.
Additional costs may include electrical upgrades, permits, and removal of old equipment. Always get multiple quotes and ask for detailed estimates. This helps avoid surprises.
Key Considerations for a Successful Installation
To get the best results from your home AC installation, keep these points in mind:
Proper Sizing
Use a professional load calculation. This considers your home’s square footage, insulation, windows, and climate. Proper sizing saves energy and improves comfort.
Energy Efficiency
Look for units with a high SEER rating (Seasonal Energy Efficiency Ratio). Higher SEER means better efficiency and lower utility bills.
Quality Installation
Even the best unit fails if installed poorly. Choose experienced technicians who follow manufacturer guidelines.
Maintenance Access
Ensure the system is installed where it can be easily serviced. This saves time and money on future repairs.
Warranty and Support
Check the warranty terms and what the installer offers for service. Good support protects your investment.
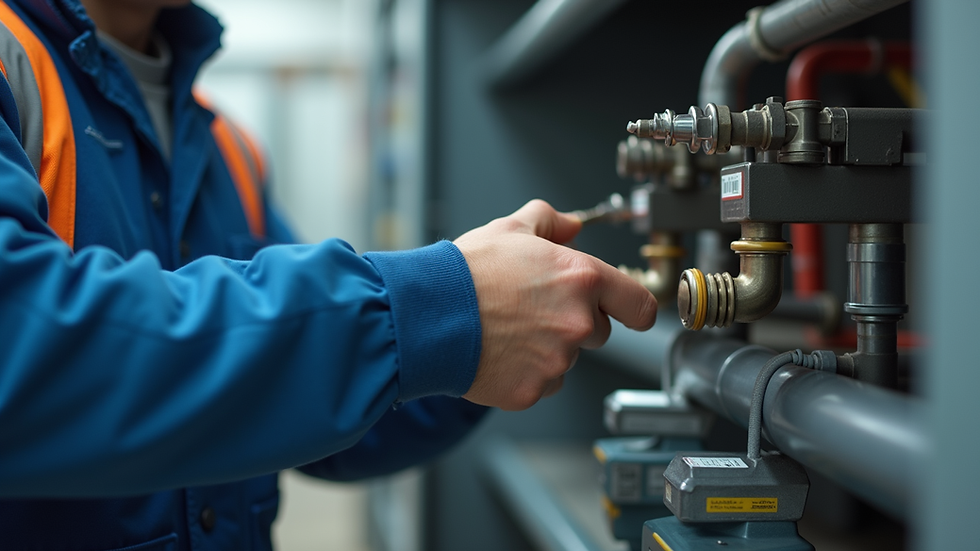
Why Professional Installation Matters
Many homeowners consider DIY installation to save money. However, professional installation is worth the cost. Here’s why:
Safety
Handling refrigerants and electrical components requires training. Mistakes can cause injury or damage.
System Longevity
Proper installation reduces wear and tear. This extends the life of your AC unit.
Energy Savings
A correctly installed system runs efficiently. This lowers your monthly energy bills.
Code Compliance
Professionals ensure your installation meets local building codes and regulations.
Peace of Mind
You get a warranty on both the equipment and the installation work.
If you want your air conditioner to work well for years, hire a trusted HVAC service provider.
Tips for Maintaining Your New AC System
After installation, regular maintenance keeps your system running smoothly. Here are some simple tips:
Change Filters Regularly
Replace or clean filters every 1-3 months. Dirty filters reduce airflow and efficiency.
Keep Outdoor Unit Clear
Remove leaves, dirt, and debris around the condenser. Trim plants to allow airflow.
Schedule Annual Tune-Ups
Have a professional inspect and service your system yearly. They check refrigerant levels, clean coils, and test components.
Monitor Performance
Notice any unusual noises or reduced cooling. Early repairs prevent bigger problems.
Use a Programmable Thermostat
Set temperatures to save energy when you are away or asleep.
Following these steps helps you enjoy cool comfort and avoid costly repairs.
If you want to learn more about residential air conditioning installation, visit the Air Done Right Mechanical website. They specialize in honest, high-quality HVAC work across North and West Texas.
Taking the time to understand home AC installation steps prepares you for a smooth process. It ensures you get a system that fits your home and budget. With the right installation and care, your air conditioner will keep you comfortable for many Texas summers to come.


